Room 2103
Operational Instruction Page is Under Construction

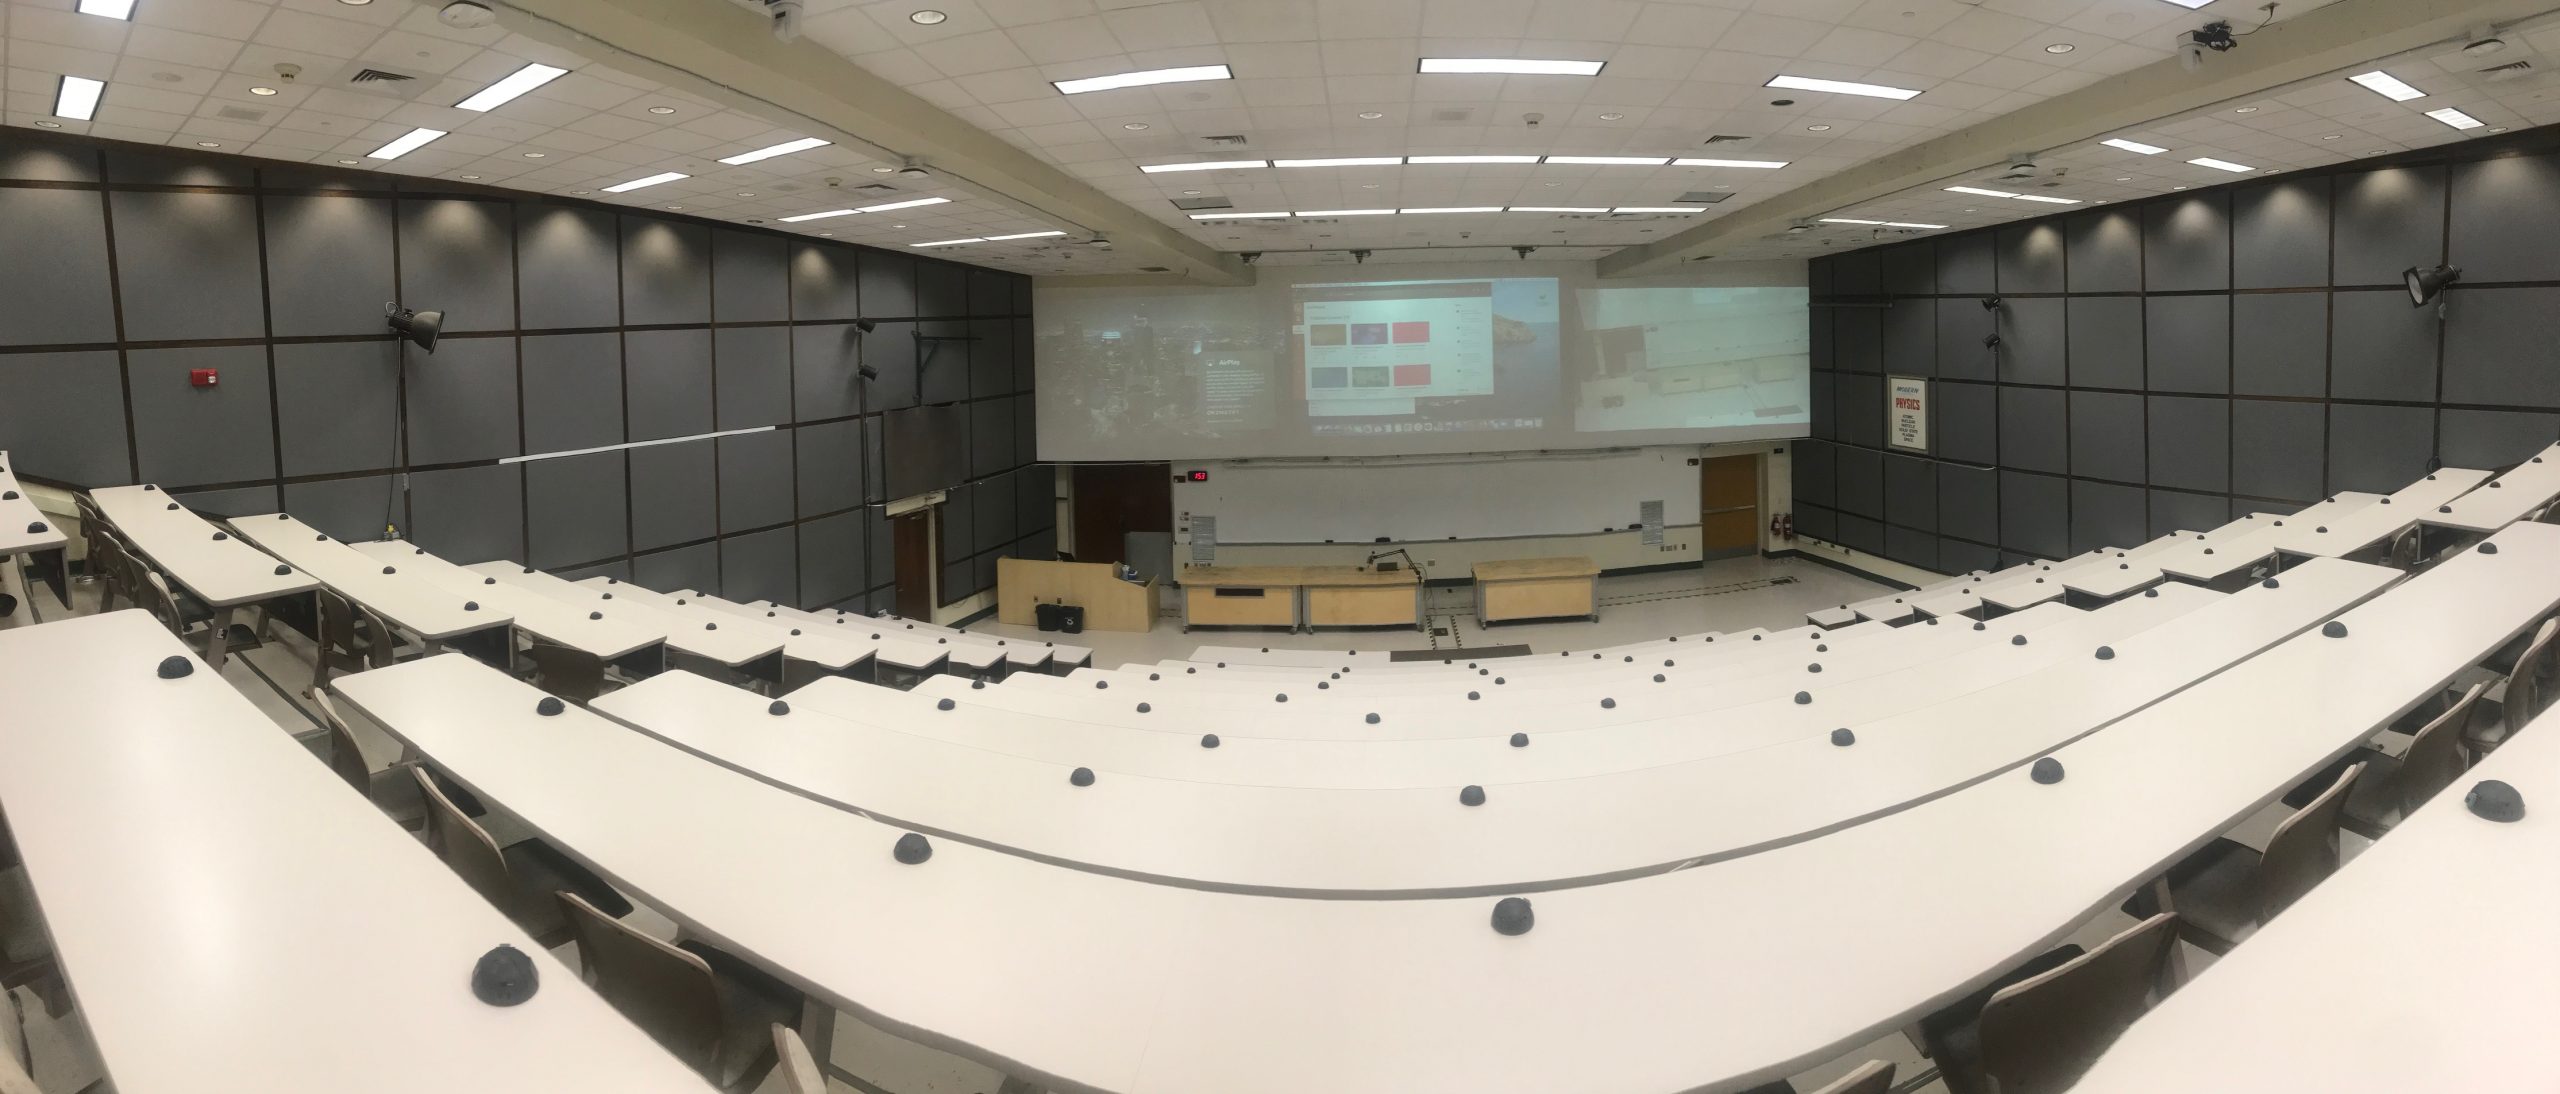
The Room & Audio Visual System
|
|
For Help!
Contact either
Steve R NarfLecture Demonstrationsrnarf@wisc.edu (608) 262-3898 2237 Ch | Jim ReardonDirector ofUndergraduate Program reardon@wisc.edu (608) 288-0359 2320g Ch |
Crestron Startup:
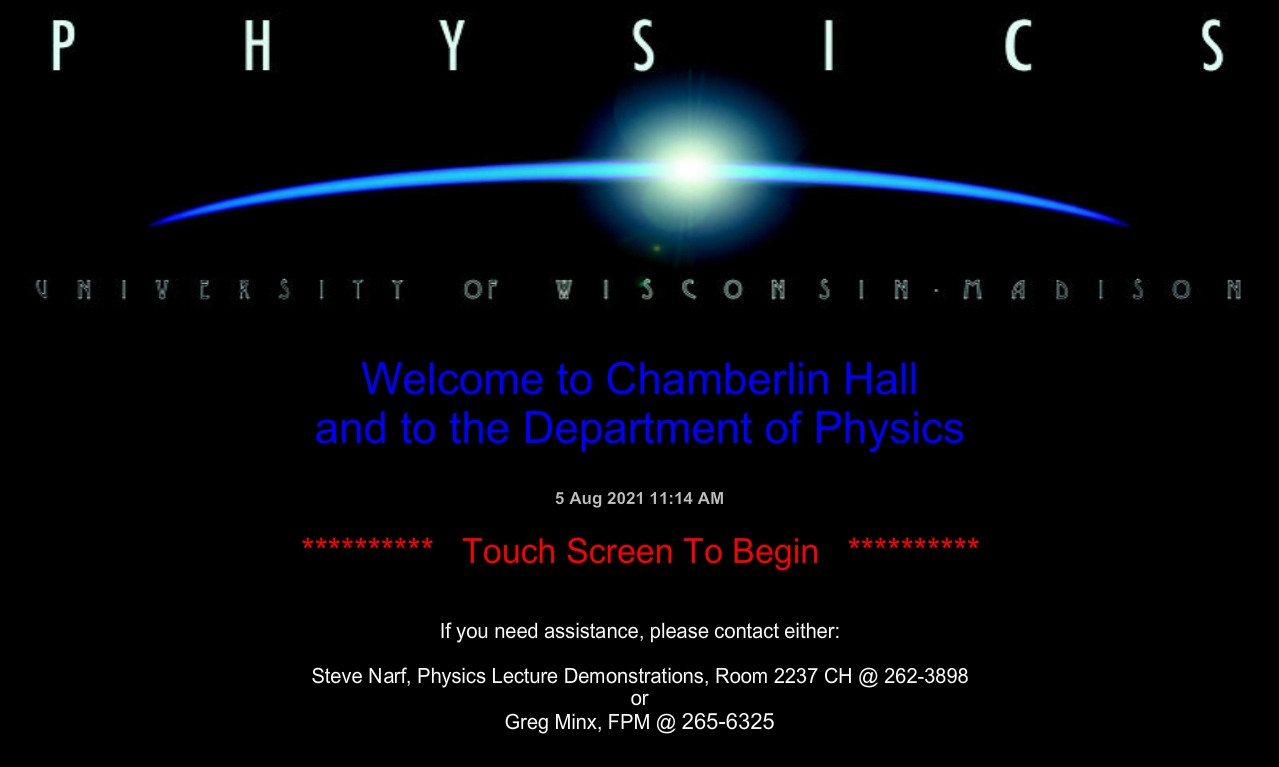
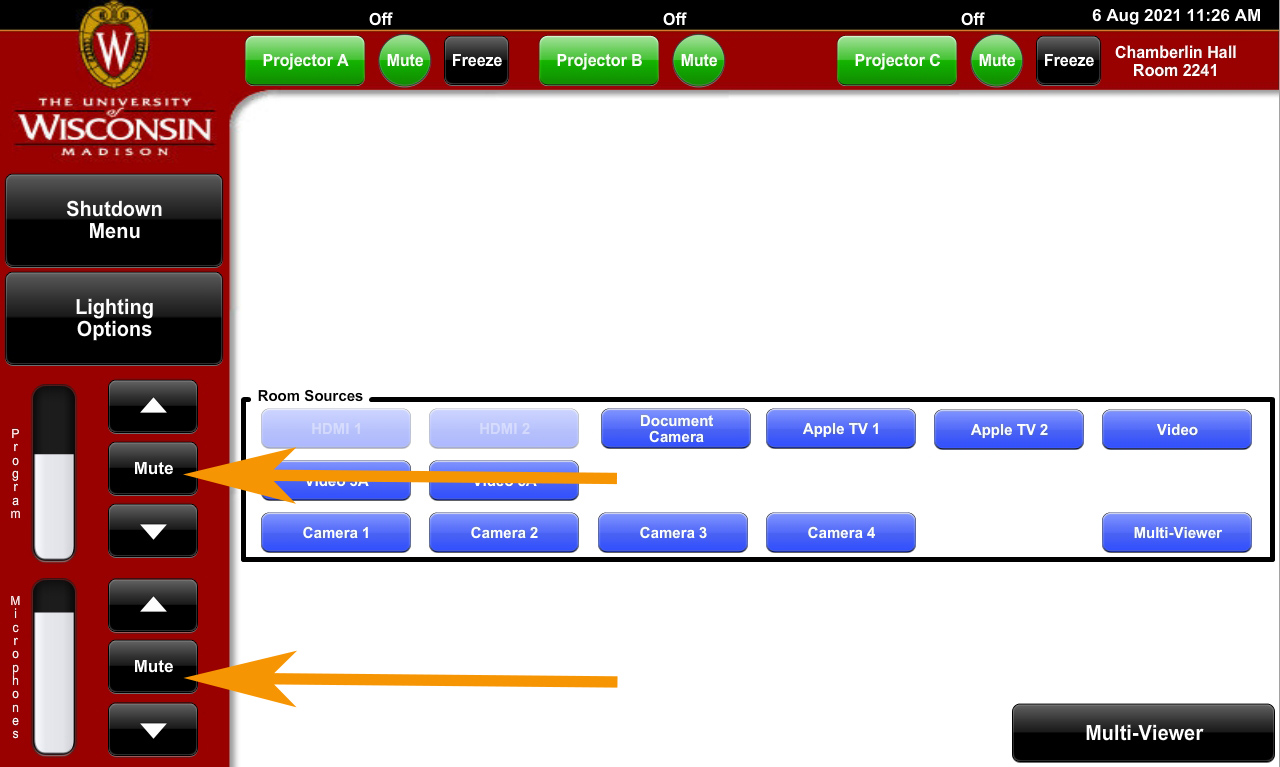
- The touch screen — The screen maybe dark (ie. asleep) and will require you to touch the screen “once” to wake it up. (see image) You will then need to touch the screen a second time to acquire the log-in screen. (see image)
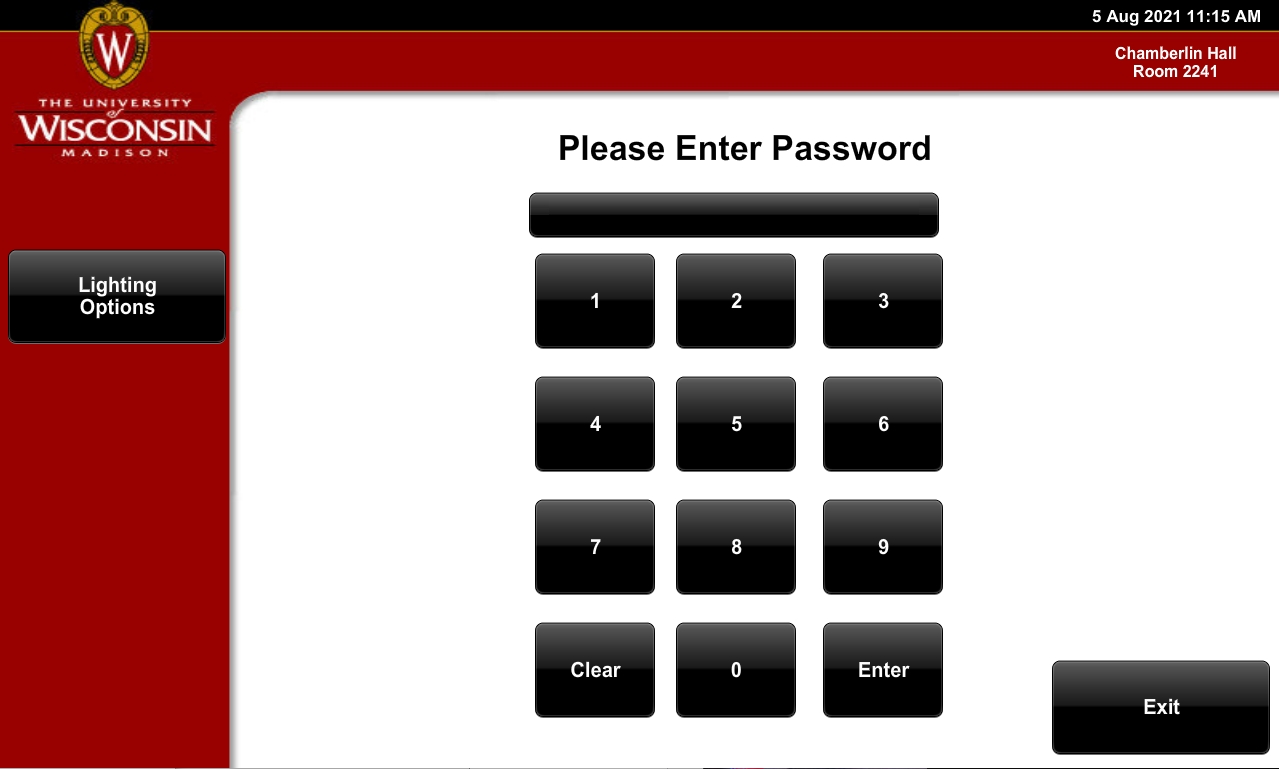
- Note: Your campus 6 digit AV pass-code and keys will not work within our rooms. They are for AMX general assignment rooms only.
- Enter the 4 digit pass-code that is given out by the physics department.
- If you have an older computer, especially if you only have VGA out, this will require special hardware. Please contact us.
Connecting a computer to our Crestron System:
- Connect your computer to the system by using one of the 7 HDMI ports. 1 at the lectern and 2 at each lecture demonstration table.
- The most commonly used port is Computer 1 located at Table #2 in the center of the stage. (See image)
- There is usually an HDMI cable at that location or it the drawer below.
- Note: a USBC or other mac adapter is often needed, we have several adapters available for use. The most common ones should be within the drawer below.
- See images: Before connected and After connected to Computer #1 at Table #2 .
- If button does not brighten up, then there is most likely a connection issue or possibly a resolution issue. Repeat step one above and or seek help.
- Select by pushing either the “Computer 1” button within the “Table 2” box or the button that did brighten up. The button will change from Blue to Green. (See image)
- Your computer display should now appear on the Crestron touch screen preview window located above the room source buttons. (See image 1) (see image 2)
- Note: that “Computer 2” button under “Room Sources” is also bright. This input is reserved for airplay via Apple TV, which you will need another departmental code to use.
- Once you have your display showing on the previews, you now must send it to a projector.
- The best projector is Projector B.
- Do this by pushing the green “Projector B” button located at top-center of the Crestron touch screen. (See image). The label “Warming” will appear over the button.
- You should be able to see a blue light coming from projector B its self, which is located in the back of the lecture hall.
- The label that is just above the Projector B button, will change to whichever source button that was just sent. In this case it should read “Computer 1 Table 2” (See image)
- Once you have your display showing on the previews, you now must send it to a projector.
- This is your choice, but the best projector is Projector B.
- Do this by pushing the green “Projector B” button located at top-center of the Crestron touch screen. (See image)
- The Projector B button will darken with a label “Warming” appearing over the button. This will go away in time.
- You should be able to see a blue light coming from projector B its self, which is located in the back of the lecture hall.
- The Projector B button’s label that is just above it, will change to whichever source button that was sent last. In this case it should read “Computer 1 Table 2”. (see image)
- Each projector button has an associated “Mute” button. Which blank the projector image without turning off the projector.
- The color of the mute button’s will change for “Green = Mute Off” to “Red = Mute On”
- NOTE: The word “MUTE” is always seen. Even when the mute function is being used (Red). This does cause a lot of confusion. Just remember that Green means Go!
The PA System:
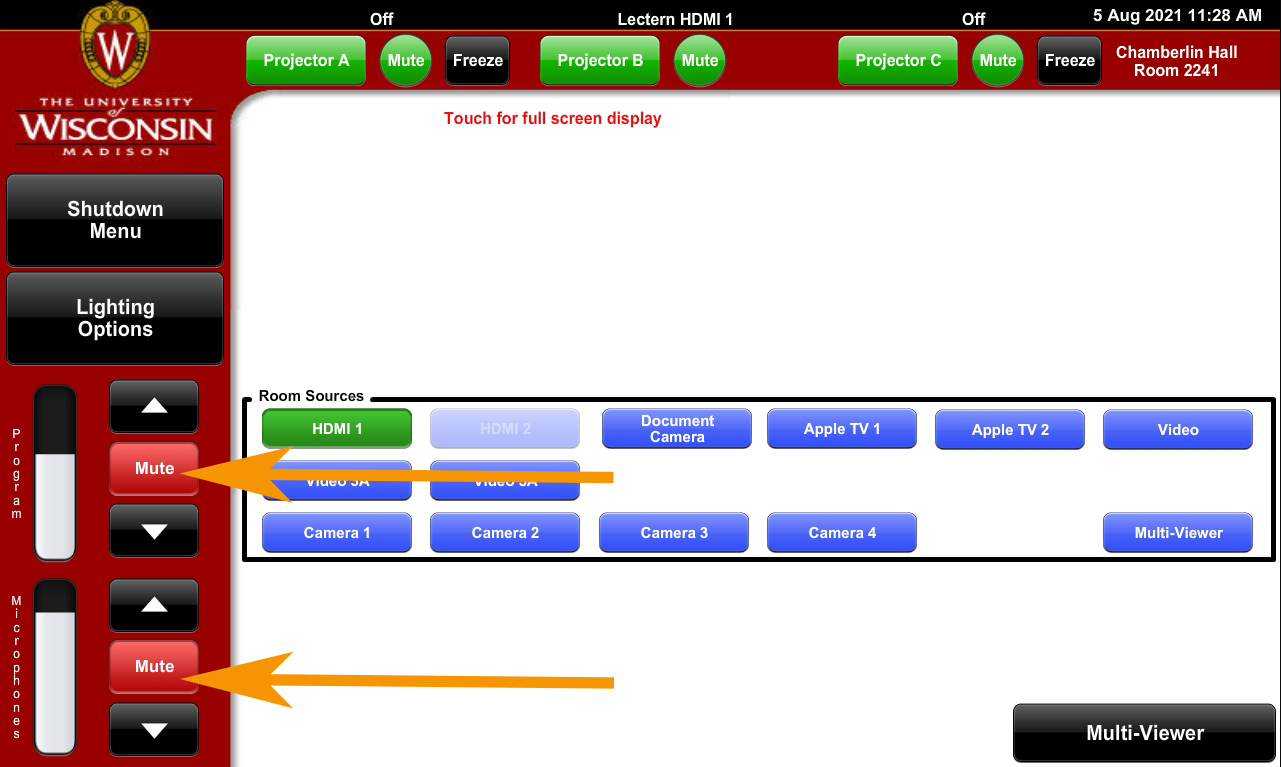
- The touch screen — on the left hand margin you will see volume controls that are labeled “Program” and “Microphone”.
- Note: These two controls will most likely be blinking “Red” upon login. This means they are “Muted”, No sound! (See image)
- “Program” Audio is the mixed audio from one computer port and any other plug-in audio device such as a CD/DVD player.
- “Microphone” Audio is the “Mixed” audio from all microphones.
- Push both red mute buttons so they turn on or “Black”. (See image)
- There are often two wireless microphones available within the room. However, this room has the capabilities of having up to six wireless microphones and two or three wired microphones. A formal request is needed for additional microphones.
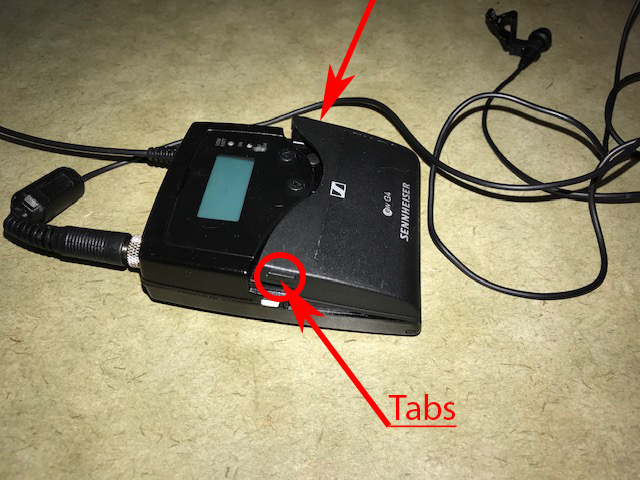
- Find the Sennheiser body pack wireless microphone.