Room 2241
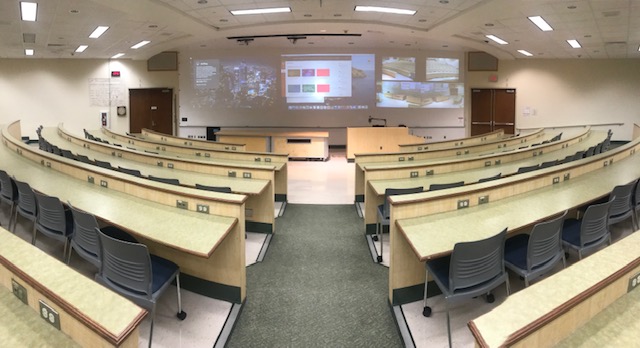
The Room & Audio Visual System
- Located off main lobby or the university avenue main entrance.
- The room capacity is 173 persons.
- There are three egress entrances to the lecture hall, two in back and one front.
- The room is also connected to the physics department’s lecture demonstration office room 2237.
- The room has three LCD projectors with multiple graphical and video inputs .
- There are four room cameras.
- There is “no” VCR, DVD, or CD player within this room, however one can be provided upon request.
- PLEASE NOTE: THIS ROOM IS “NOT” VGA COMPLIANT!
- one-on-one orientation is highly recommended and can be requested through lecture demonstration office room 2237.
- The main system is Crestron and is pass-code protected by the department. Please note that this is different the your campus AMX code.
- The Crestron pass-code is given out upon request by the physics department – NOT by campus scheduling.
- Pass-codes are changed every school year.
- There are two wireless microphones available. One microphone is always in the room on the lectern and the other is available by request.
For Help!
Contact either
Steve R NarfLecture Demonstrationsrnarf@wisc.edu (608) 262-3898 2237 Ch | Jim ReardonDirector ofUndergraduate Program reardon@wisc.edu (608) 288-0359 2320g Ch |
NOTE:
The below instructions are mainly for room 2241 but can be used for our other rooms as guide until updated instructions for those rooms are posted.
Crestron Startup:
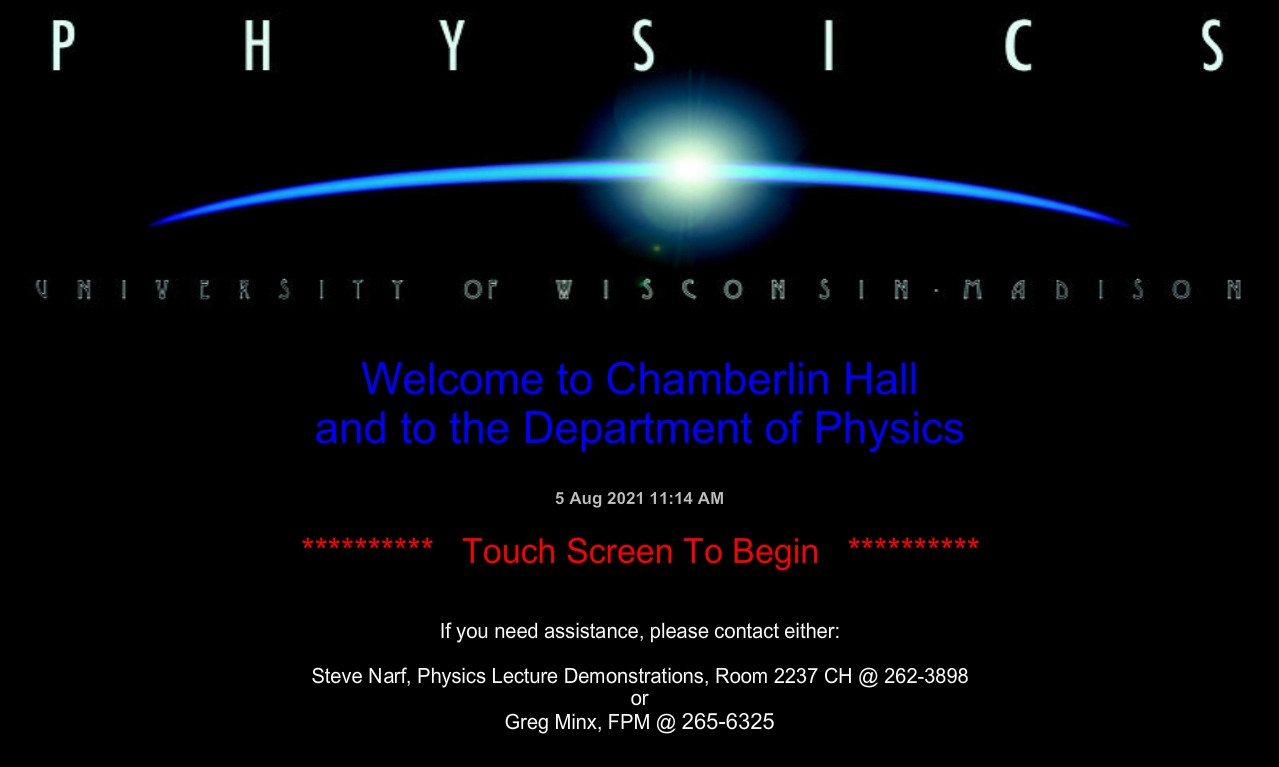
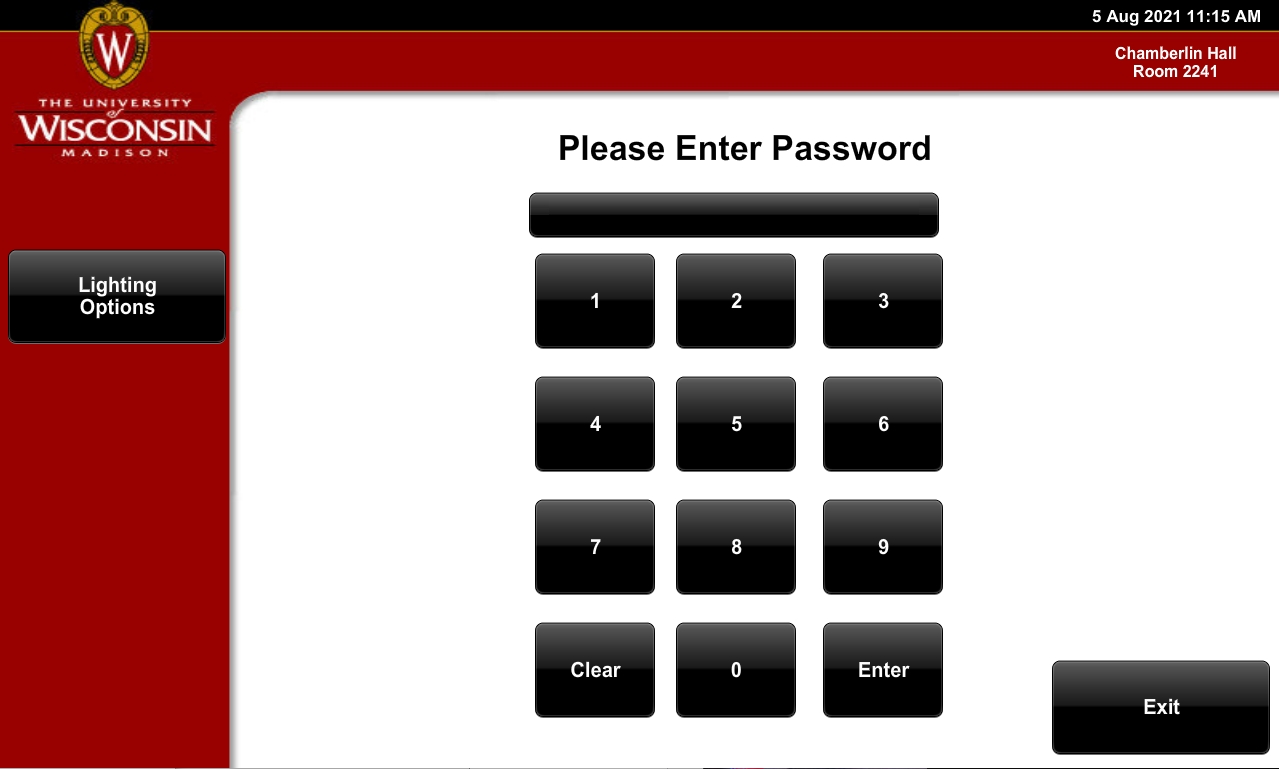
- The touch screen — The screen maybe dark (ie. asleep) and will require you to touch the screen “once” to wake it up. (see image) You will then need to touch the screen a second time to acquire the log-in screen. (see image)
- Note: Your campus 6 digit AV pass-code and keys will not work within our rooms. They are for AMX general assignment rooms only.
- Enter the 4 digit pass-code that is given out by the physics department.
- If you have an older computer, especially if you only have VGA out, this will require special hardware. Please contact us.
Connecting a computer to our Crestron System:
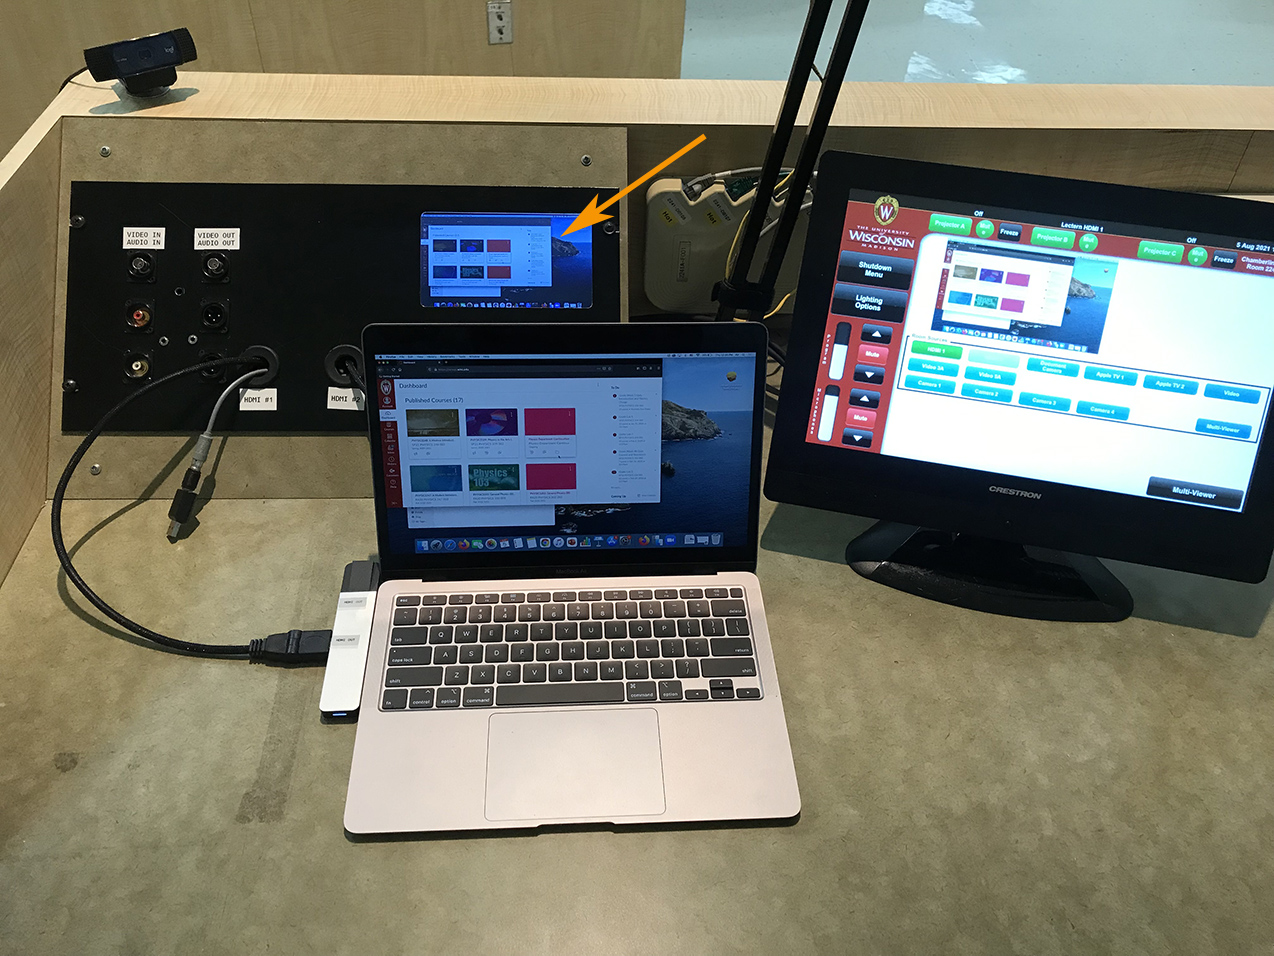
- Connect your computer to the system by using one of the HDMI pullout cable that are provided for you on the left-hand-side of the lectern. These cables labeled as HDMI 1 and HDMI 2. (See image)
- Note: a USBC or mac adapter is often needed, we have several adapters available for use. The most common ones should be at the lectern.
- See images: Before connected and After connected to HDMI 1 cable.
- If button does not brighten up, then there is most likely a connection issue or possibly a resolution issue. Repeat step one above and then get help.
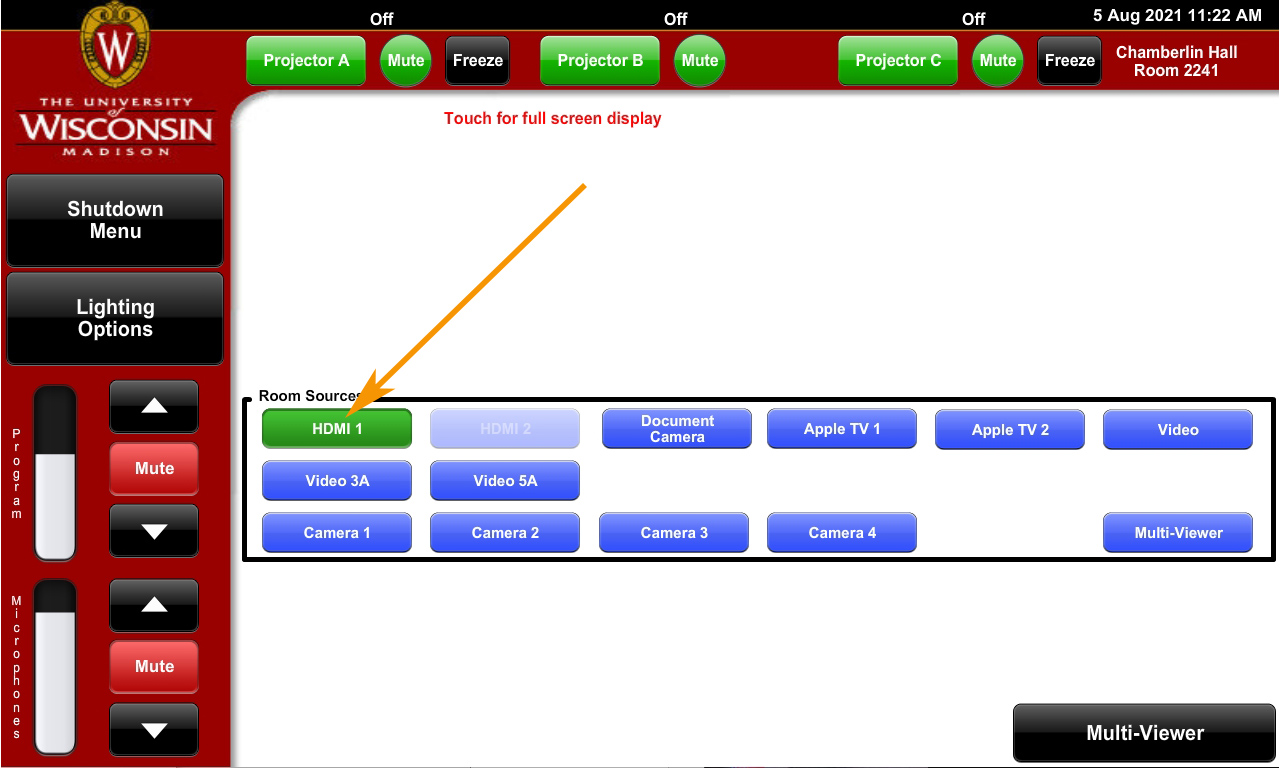
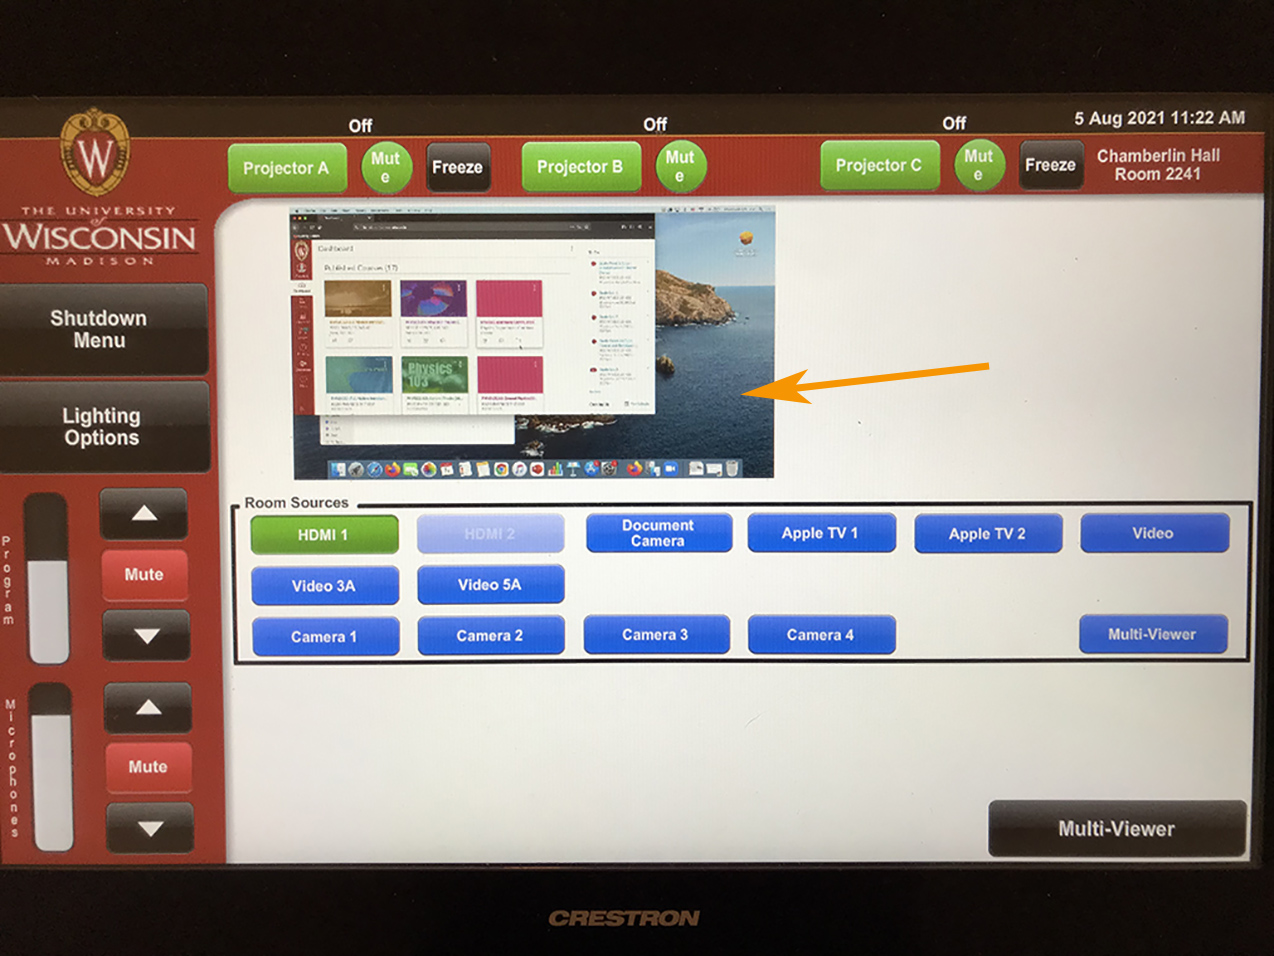
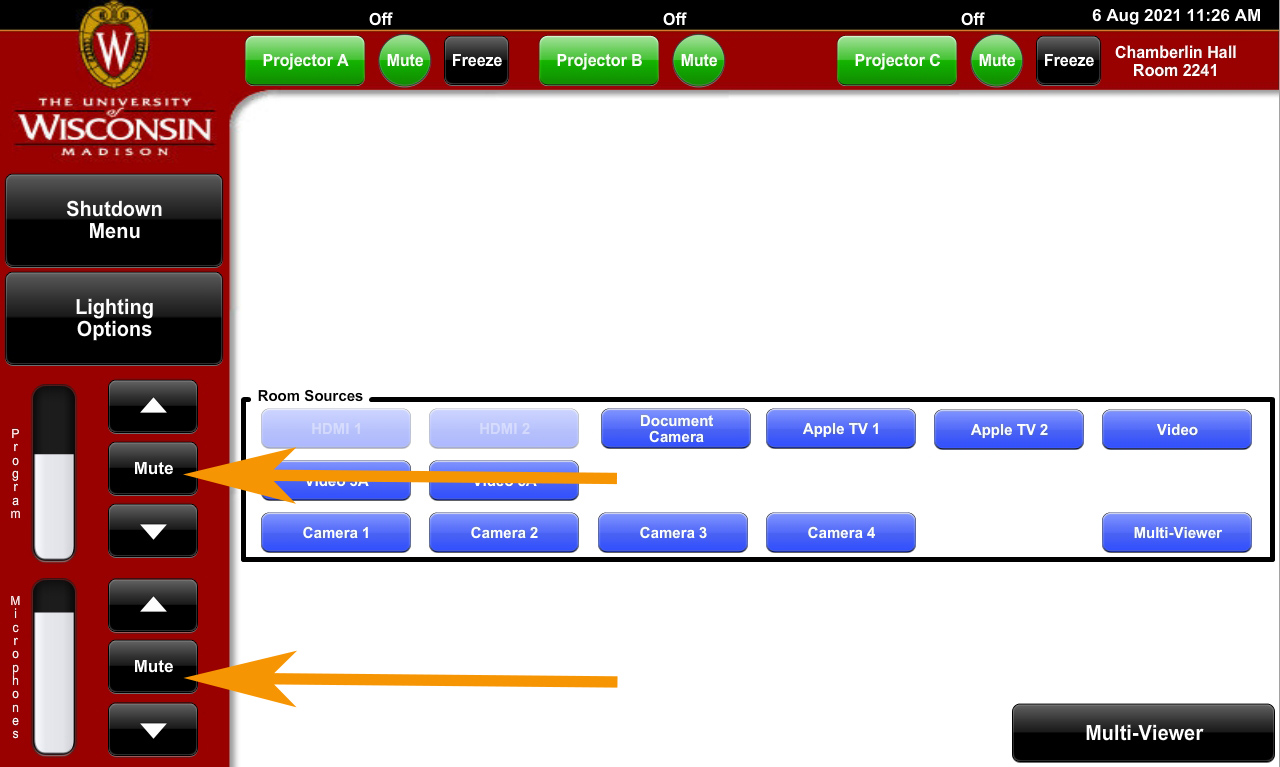
- Select by pushing either the “HDMI 1” or HDMI 2” button within the “Room Sources” box. The button will change from Blue to Green. (See image)
- Your computer display should now appear on both the Crestron touch screen preview window located above the room source buttons and the LCD display on the lectern. (See image 1) (see image 2)
- Once you have your display showing on the previews, you now must send it to a projector.
- This is your choice, but the best projector is Projector B.
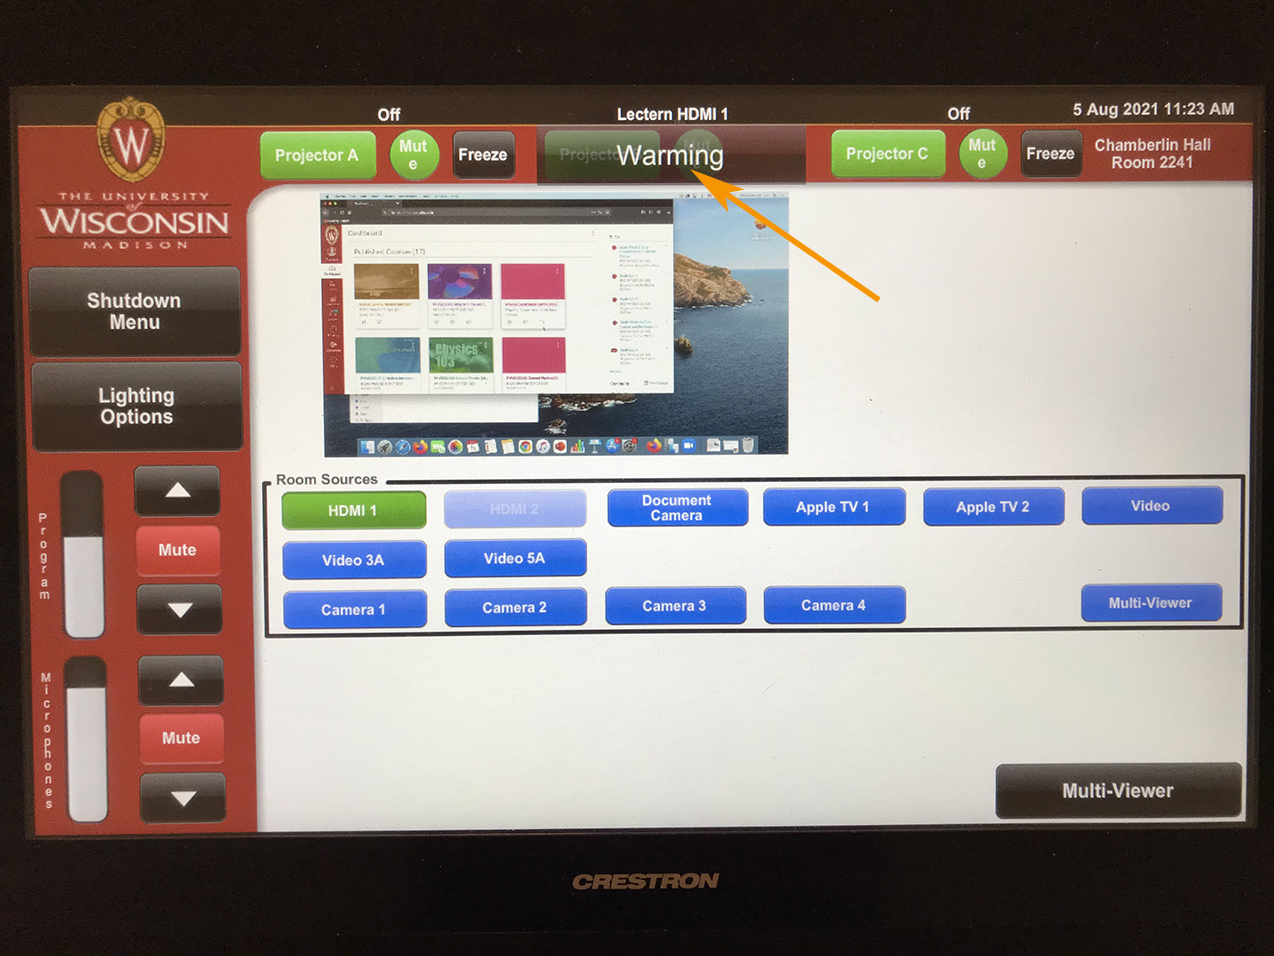
- Do this by pushing the green “Projector B” button located at top-center of the Crestron touch screen. (See image)
- The Projector B button will darken with a label “Warming” appearing over the button. This will go away in time.
- You should be able to see a blue light coming from projector B its self, which is located in the back of the lecture hall.
- The Projector B button’s label that is just above it, will change to whichever source button that was sent last. In this case it should read “Lectern HDMI 1” or “Lectern HDMI 2”. (See image)
- Each projector button has an associated “Mute” button. Which blank the projector image without turning off the projector.
- The color of the mute button’s will change for “Green = Mute Off” to “Red = Mute On”
- NOTE: The word “MUTE” is always seen. Even when the mute function is being used (Red). This does cause a lot of confusion. Just remember that Green means Go!!
The PA System:
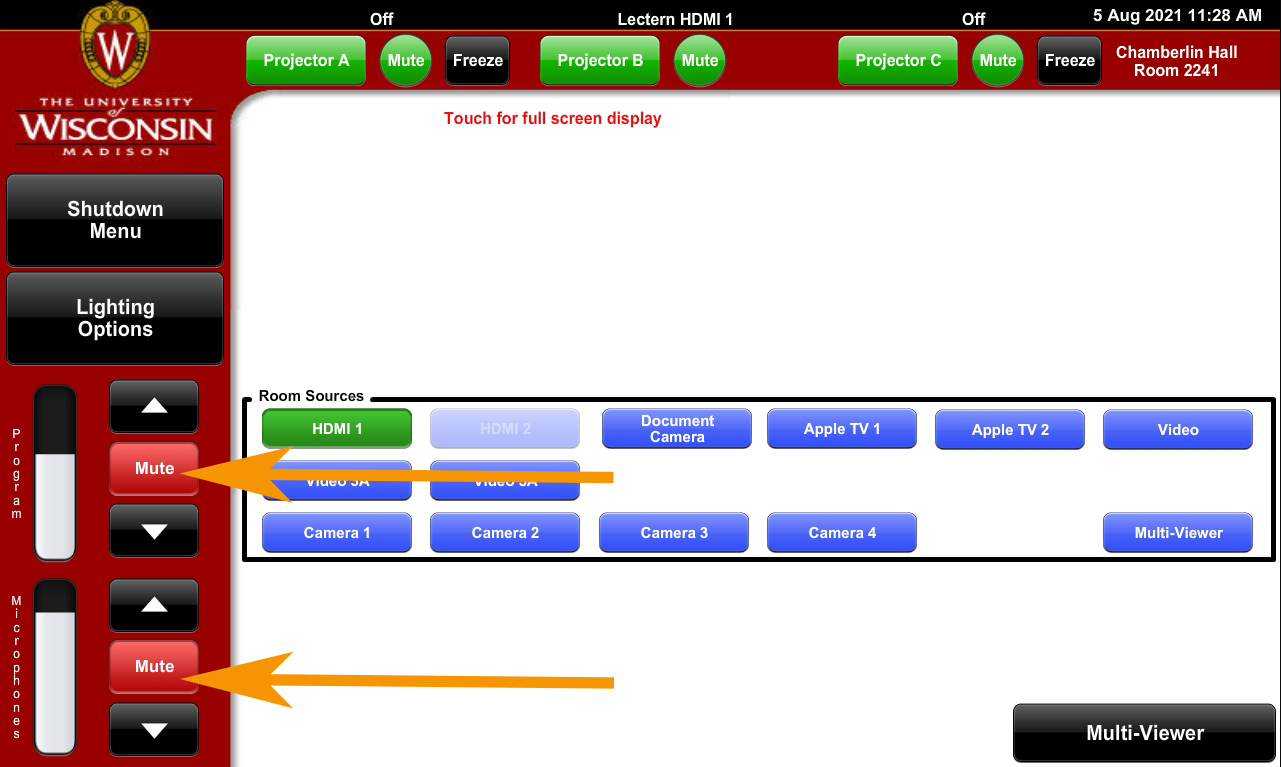
- The touch screen — on the left hand margin you will see volume controls that are labeled “Program” and “Microphone”.
- Note: These two controls will most likely be “Red” upon login. This means they are “Muted”, No sound! (See image)
- “Program” Audio is the mixed audio from one computer and any other plug-in audio device such as a CD/DVD player. Only one one set of sources can go though the system at any time.
- “Microphone” Audio is the “Mixed” audio from all microphones.
- Note: These two controls will most likely be “Red” upon login. This means they are “Muted”, No sound! (See image)
- Push both red mute buttons so they turn on or “Black”. (See image)
- There are currently two wireless microphones available. Two more will be added in the near future.
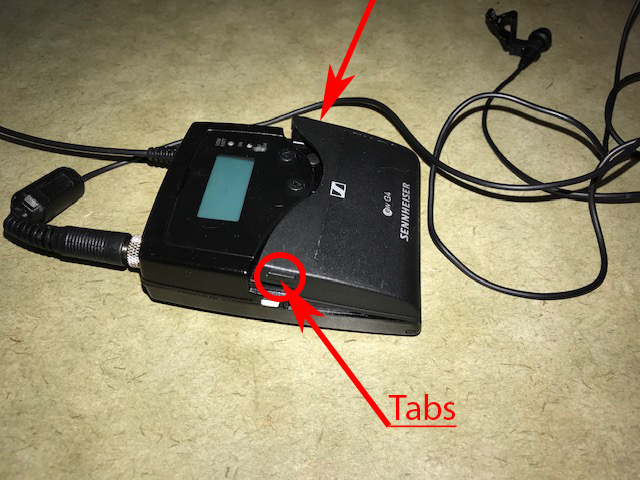
- Find the Sennheiser body pack wireless microphone.
- It should be on the lecture or in the lecture draw or even on the lectern demo tables to the right of the lectern. It depends where the last instructor left it. (See image )
- To turn it on.