Windows
- Open the printers dialog by clicking the Start button -> Control Panel -> Hardware and Sound -> Printers.
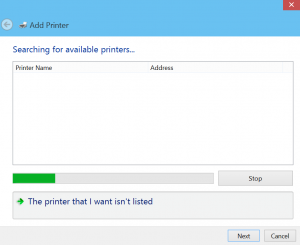
- Click “Add a Printer”
- Click “The printer that I want isn’t listed”
?
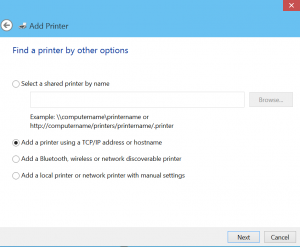
- Select “Add a printer using a TCP/IP address or hostname”
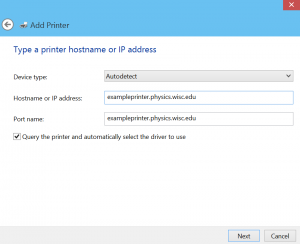
- Enter the hostname or IP address of the printer you would like to access. A list of them can be found here.
- You can give the printer a name to identify the location, or leave it as is.
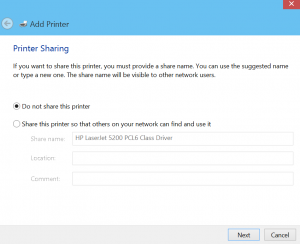
- If you get an option to share the printer, select do not share this printer.
MacOS
- Click the apple menu at the top left of the screen -> System Preferences -> Printers & Scanners
- Click “Add Printer”
- Click “IP” or
 at the top of the window
 - Enter the hostname or IP address of the printer you would like to access. A list of them can be found here.
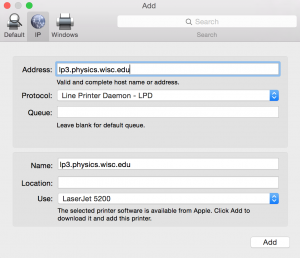
- The bottom of the form may auto-fill and select an appropriate driver to use. If it picks a generic driver, that may work, but for full functionality (e.g. stapling), you can instead install a specific driver for the printer. To do so, follow the link to the driver in the first column of the printer list or search for it on the printer manufacturer’s website. After installing the driver, back in the add printer dialogue, choose Use: Select Software and find the driver for the printer.
- Once done selecting the driver, click Add to add the printer.
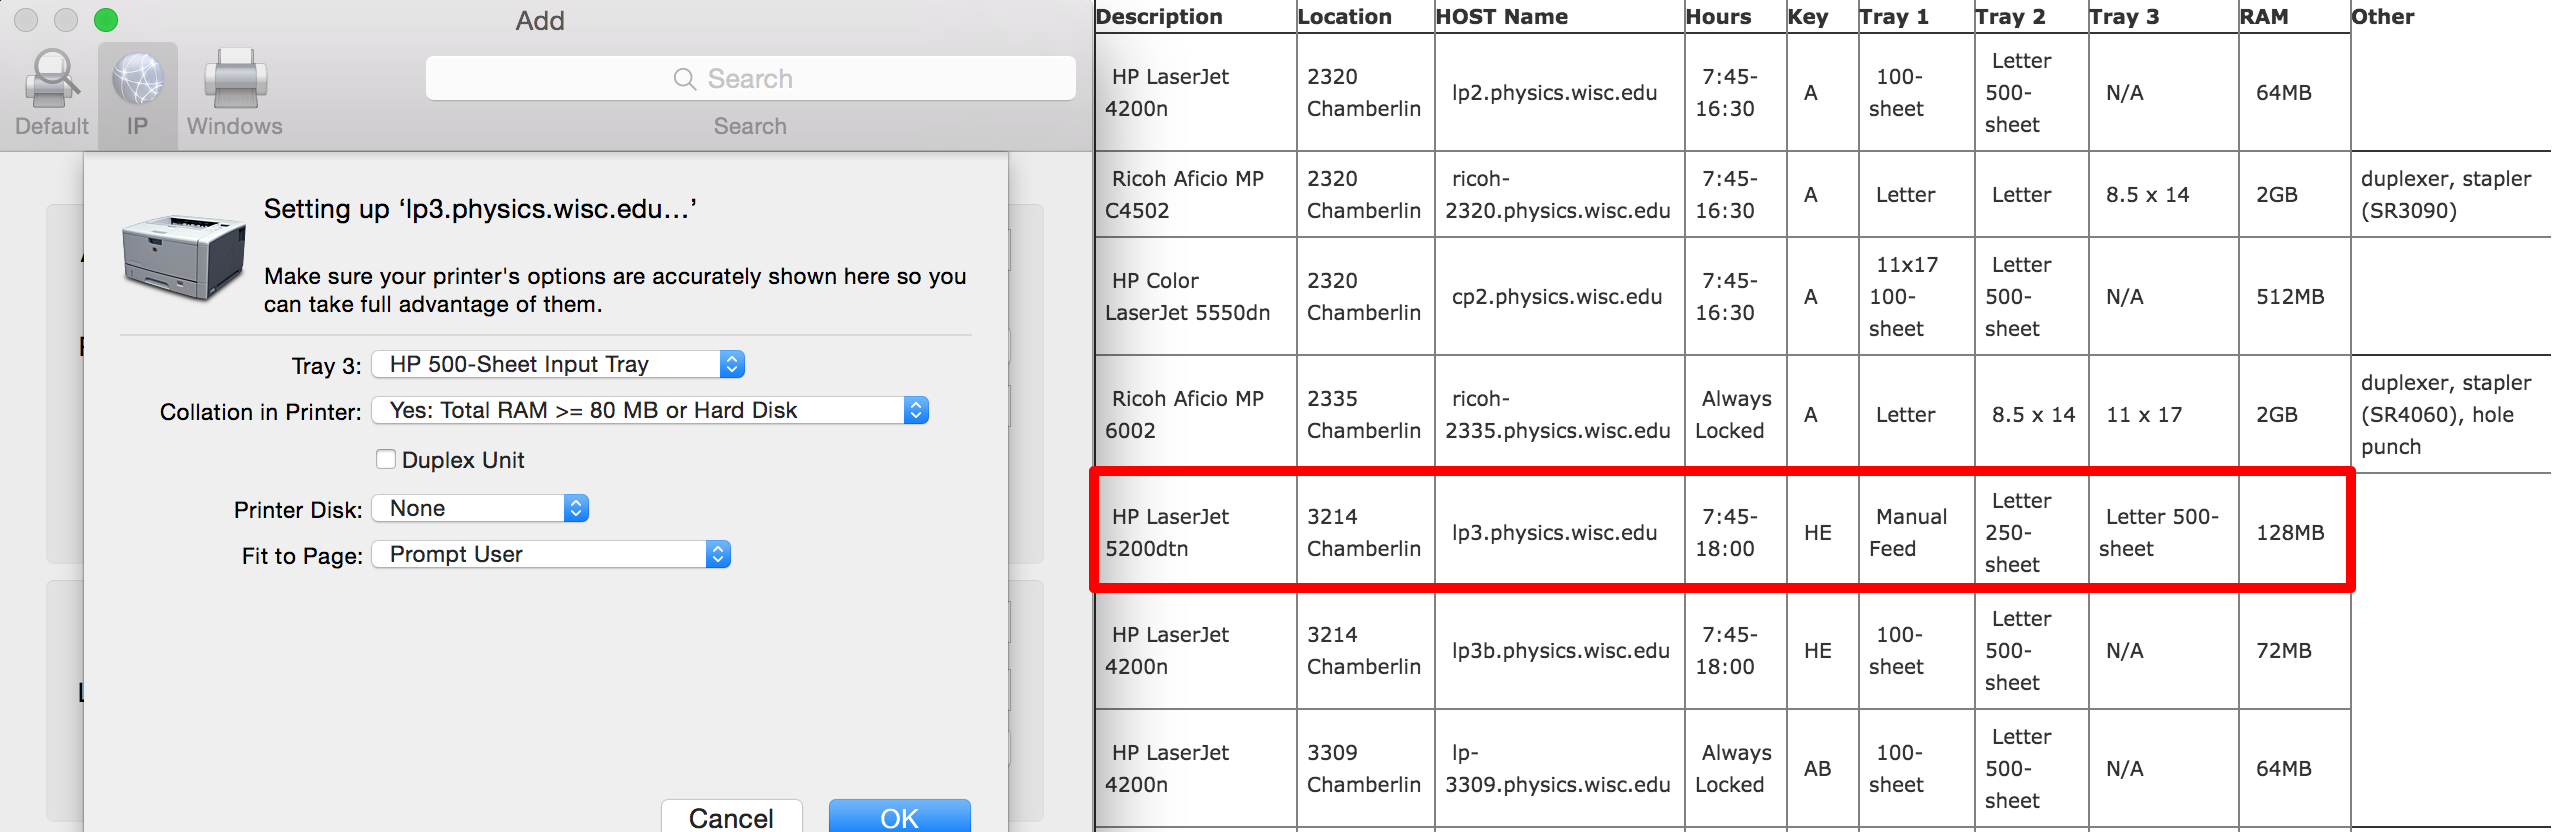
- Click on the printer in the list of installed printer to open a page showing information about the printer. Click Options & Supplies and then Options.
- Compare the options provided with the ones on the printer page here, and enter as many as possible. The following is an example of what this might look like: